Tuesday, April 30, 2024

Fiber-Optic Cabling...


Tonight, I started section "1.5 Fiber-Optic Cabling" in the "Network Addressing and Basic Troubleshooting" online course over at the Cisco Networking Academy.


Section 1.5 Fiber-Optic Cabling


Types of Fiber-Optic Media

According to Cisco, fiber-optic cables are broadly classified into two types:

  1. Single-mode Fiber (SMF)
  2. Multi-mode Fiber (MMF)

Single-Mode Fiber

Here are some details about single mode fiber-optic cable:

  • Consists of a very small core made of glass.
  • Uses expensive laser technology to send a single ray of light through the glass core.
  • Produces a single straight path for light.
  • Popular in long-distance situations that span hundreds of kilometers.
    • Long-haul telephony
    • Cable TV applications
  • Technical specifications include:
    • Glass Core diameter: 9 micrometers
    • Glass Cladding diameter: 125 micrometers
    • Polymeric Coating
Single-Mode Fiber-Optic Cable
Single Mode Fiber-Optic Cable

Multimode Fiber

Here are some details about multi-mode fiber-optic cable:

  • Consists of a larger core and uses LED emitters to send light pulses.
  • Allows for multiple paths for light to travel through the glass core.
  • Light from an LED enters the MMF at different angles.
  • Popular in LANs because they can be powered by low-cost LEDs.
  • Provides bandwidth up to 10Gbps over link lengths of up to 550 meters.
  • Technical specifications include:
    • Glass Core diameter: 50-62.5 micrometers
    • Glass Cladding diameter: 125 micrometers
    • Polymeric Coating
Multi-Mode Fiber-Optic Cable


Fiber-Optic Cabling Usage

Fiber-optic cabling is now being used in four types of industry:

  • Enterprise Networks - This is used for backbone cabling applications and interconnecting infrastructure devices.
  • Fiber-to-the-Home (FTTH) - This is used to provide always-on broadband services to homes and small businesses.
  • Long-Haul Networks - This is used by service providers to connect countries and cities.
  • Submarine Cable Networks - This is used to provide reliable high-speed, high-capacity solutions capable of surviving in harsh undersea environments at up to transoceanic distances.

Fiber-Optic Connectors

A fiber-optic connector terminates the end of an optical fiber.

A variety of fiber-optic connectors are available.

The main differences among the types of connectors are dimensions and methods of coupling.

Businesses decide on the types of connectors that will be used, based on their equipment.

There are four types of fiber-optic connectors.

  1. Straight-Tip (ST) Connectors
    • One of the first connector types used.
    • The connector locks securely with a "twist-on/twist-off" bayonet-style mechanism.
  2. Subscriber Connector (SC) Connectors
    • Sometimes referred to as "square connectors" or "standard connectors".
    • Widely-adopted LAN and WAN connector that uses a push-pull mechanism to ensure positive insertion.
    • Used with MMF and SMF.
  3. Lucent Connector (LC) Simplex Connectors
    • Smaller version of the SC connector.
    • Sometimes called "little" or "local" connectors.
    • Quickly growing in popularity due to their smaller size.
  4. Duplex Multimode LC Connectors
    • Similar to an LC simplex connector, but uses a duplex connector.
Straight-Tip (ST) Connectors

Subscriber Connector (SC) Connectors

Lucent Connector (LC) Simplex Connectors
Lucent Connector (LC) Simplex Connectors 

Duplex Multimode LC Connectors

Fiber-Optic Patch Cords

Fiber-optic patch cords are required for interconnecting infrastructure devices.

The use of color distinguishes between single-mode and multi-mode patch cords.

A yellow jacket is for single-mode fiber cables and orange (or aqua) for multi-mode fiber cables.

There are four types of fiber-optic patch cords:

  • SC-SC Multi-Mode Patch Cord
  • LC-LC Single-Mode Patch Cord
  • ST-LC Multi-Mode Patch Cord
  • SC-ST Single-Mode Patch Cord

LC-LC Single-Mode Patch Cord
ST-LC Multi-Mode Patch Cord
SC-ST Single-Mode Patch Cord

SC-SC Multi-mode Patch Cord


Monday, April 29, 2024

Hiking the Voaz MTB Loop Trail, Part 2...

Here is the second batch of photos that I took while hiking the Voaz MTB Loop Trail at Dreamy Draw at the Phoenix Mountain Preserve over the past weekend.

Location of Dreamy Draw Trailhead
Location of Dreamy Draw Trailhead in Phoenix


Some of these photos are quite decent.

I don't know about you, but I really like desert landscapes. They are fascinating to look at.

Enjoy.


Hiking the Voaz MTB Loop Trail, Part 1...

Getting New Boots and a New Hydration System at REI

This past Saturday, April 27th, I drove back down to the Phoenix Mountain Preserve and hiked the Voaz MTB Loop.

Why did I hike the Voaz MTB Trail?

Like I mentioned in previous posts, I recently exchanged my size 10.5 Zamberlan Vioz GTX Hiking Boots for a pair at size 11W at the REI in Paradise Valley in eastern Phoenix. Since the Camelbak hydration system that I used in Iraq back in 2006 has recently started leaking, I picked up a Gregory Nano 22 H2O Hydration Pack - Plus Size. Lastly, since the weather is starting to get warmer, I went ahead and bought the Sahara Sun Hat with Cape by REI. I already had a sun hat for hiking that I bought from Amazon a couple of years ago, but "Why not?" I reasoned.

As a result, I was itching to hit the trail.

Deciding on a Trail to Hike

In my previous visit to Dreamy Draw at Phoenix Mountain Preserve a couple of weeks ago (the subject of a future post here on my blog), I had a rough time using Google Maps to navigate my way on the Perl Charles Memorial (1A) Trail. The information for Dreamy Draw on Google Maps was spotty and incomplete. This time, I was going to use the All Trails app on my cellphone.

Before going to bed, I spent nearly an hour of time looking at all of the trails for the Phoenix Mountain Preserve on All Trails.

My main criteria for choosing a hiking trail was a hike that would be about four or five miles in length. I wanted to give my new hiking boots a good workout, but I didn't want to go on a seven or eight mile hike just yet. I just wanted a medium-length hike without too many issues. I also wanted to try out my new Gregory hydration pack and sun hat.

Since we are at the end of April, the temperatures in the Phoenix area are already in excess of 90 degrees Fahrenheit. Checking the weather forecast, I noticed that the temperature for Saturday, April 27th, was predicted to be in the low 80s due to a storm moving through central and northern Arizona.

With all of that criteria in mind, I decided upon the Voaz MTB Loop.

Map of Voaz MTB Loop Trail
Map of the Voaz MTB Loop


The Voaz MTB Loop isn't an official trail on the City of Phoenix Parks and Recreation website for hiking trails. The Voaz MTB Loop is a combination of several trails, the VOAZ Trail, the Perl Charles Memorial Trail, and the Dreamy Draw Nature Trail. According to All Trails, the Voaz MTB Loop has a length of 4.1 miles and an elevation gain of 793 feet.

Returning to the Dreamy Draw Trailhead

With all of that in mind, I managed to go to bed at 1:30 AM and then get up at 7:30 AM. I got a solid six hours of sleep. After a short trip to my local Safeway to pick up some bottled water for my hydration pack, I managed to arrive at the parking lot for Dreamy Draw at around 10:00 AM. I even managed to find a parking spot at the parking lot on a Saturday morning. Nice.

I took off my New Balance shoes and put on my new Zamberlan hiking boots. I then laced up the boots. Perfect fit, so far. I wanted to know how my feet would feel after hiking four or five miles.

Then, things started to get a little crazy.

I filled up the bladder on my Gregory hydration pack to up to the 3-liter limit. After tightening the cap, I put on the hydration pack on my shoulders. The back of my shirt was SOAKED. There was water all over the exterior of my hydration pack. When I opened the hydration pack, there was water inside the compartment where the bladder is stored. A large amount of water was missing from the bladder. What the hell happened? Fortunately, I bought three 1.5-liter bottles of water when I was at Safeway, so I had plenty of water for my 3-liter capacity hydration pack. I replaced the water that had leaked out and then waited for about one minute. No leaks.

I then put on some sunscreen on my face, neck, and ears. I put on my sun hat. I then made my way to the trailhead.

Hiking the Voaz MTB Loop Trail

When I reached the trailhead with the map of the entire Dreamy Draw area, I opened the All Trails app on my cellphone. I located the entry for the Voaz MTB Loop and then clicked on Start.

Almost right away, I started to have problems using the All Trails app. The beginning of the Voaz MTB Loop was improperly marked on the map. I had to walk around and match the landscape to the terrain on the map on my cellphone. I eventually found the starting point. While holding my cellphone in front of me, I walked forward for about one minute. I observed my location on the map update in real-time. I saw the bright blue line that indicated the part of the Voaz MTB Loop that I had hiked. I was on the correct trail.

Then, just a couple of moments later, I heard a loud chime originate from my cellphone. I was hiking on the wrong trail. I looked at my cellphone and then looked at the terrain. I tried to figure out where I was supposed to be. After about one minute of looking, I found the trail I was supposed to be on. The Dreamy Draw area of the Phoenix Mountain Preserve is littered with hiking trails. There are more trails that what is indicated on the City of Phoenix Parks and Recreation Trail Map.

For the next three hours of hiking, I had the same problem over and over again. I would hike for several minutes before getting a beep from my cellphone, inidicating that I was off the Voaz MTB Loop trail. I would then have to orientate the map on my cellphone to the terrain IOT figure out where I needed to be. At first, it was really annoying. Then it became mildly irritating.

During the hike, I quickly realized that I was largely hiking the same trail, the Perl Charles Memorial Trail (1A), that I had hiked a couple of weeks ago. There were some differences as the Voaz Trail itself is only 0.5 miles long. After I ascended to the saddle point, the highest point of my hike, I realized that I had been at this very location three weeks prior. I recognized the shape of the mountains. I recognized the rest benches made out of stone where I ate a Clif bar and drank some water. Since I have been struggling with allergies and/or a virus for the past two weeks, hiking up to the saddle point was a little on the slow side. However, I wasn't in a hurry. When I needed to take a break, I took a break. After I ate my Clif bar, I had A LOT more energy. After reaching the saddle point, it was literally all down hill from there. Despite the temperature being in the low to mid 80s, I was drinking water like crazy, especially on the way down.

Back at the Trailhead

When I returned to the trailhead, I sat down. During my first visit to Dreamy Draw, my feet were pain at the end of the hike. This time, there was some discomfort in my feet, but the difference was like night and day. After sitting down for a few minutes, I was able to walk back to my car at a relaxed pace. Big difference.

Yes, I did take some photos during my hike. To be honest, it was a hassle trying to switch between the All Trails app and taking a photo with my cellphone. For a brief moment, I considered giving up on taking photos during the hike IOT focus using the All Trails app. However, I decided to go ahead and take some photos despite the problems using the All Trails app. To be fair to the All Trails app, my cellphone is nearing the end of its lifespan. It took an agonizing minute or two for my cellphone to switch from the All Trails app to the camera app. It was painful. Then again, I wasn't in a hurry to get off the trail, so I adapted to the situation.

Lastly, my Samsung Watch 4 ran out of power. Again. This time, I waited until I started hiking to turn on my watch and record my hike. No effect. In addition to my cellphone, I just might have to replace my watch as well. Ugh. If I were to get a new watch, would I get a new Samsung watch or would I go with an Apple watch? I can't say. Before getting a new watch, I will have to play around with the settings on my Samsung Watch 4 and see if I can fix the issue.

Verdict on the All Trails App

All-in-all, I had a somewhat mixed experience with using the All Trails app on my cellphone. Yes, it was a hassle switching back and forth from the All Trails app and the camera app on my phone. I kept forgetting to press the Pause button on the All Trails app before taking a photo. In addition, there were times when I forgot to press the Resume button on the All Trails app. Plus, there is a limit to how far you can zoom in on the digital topographic map on your cellphone. Once you turn on the real-time update on the app, the feature can rapidly drain power from your phone. You definitely need to make sure that you have a backup charger for your cellphone with you on the trail. However, like I wrote earlier, the Phoenix Mountain Preserve is criss-crossed with trails. Many of these trails are either unmarked or poorly marked. The All Trails app is really good at displaying the trail you are hiking and your real-time location. That is a really convenient feature that makes the All Trails app useful. I am not too happy with having yet another service that I have to subscribe to IOT use. I can always go back to using a paper map, I suppose.

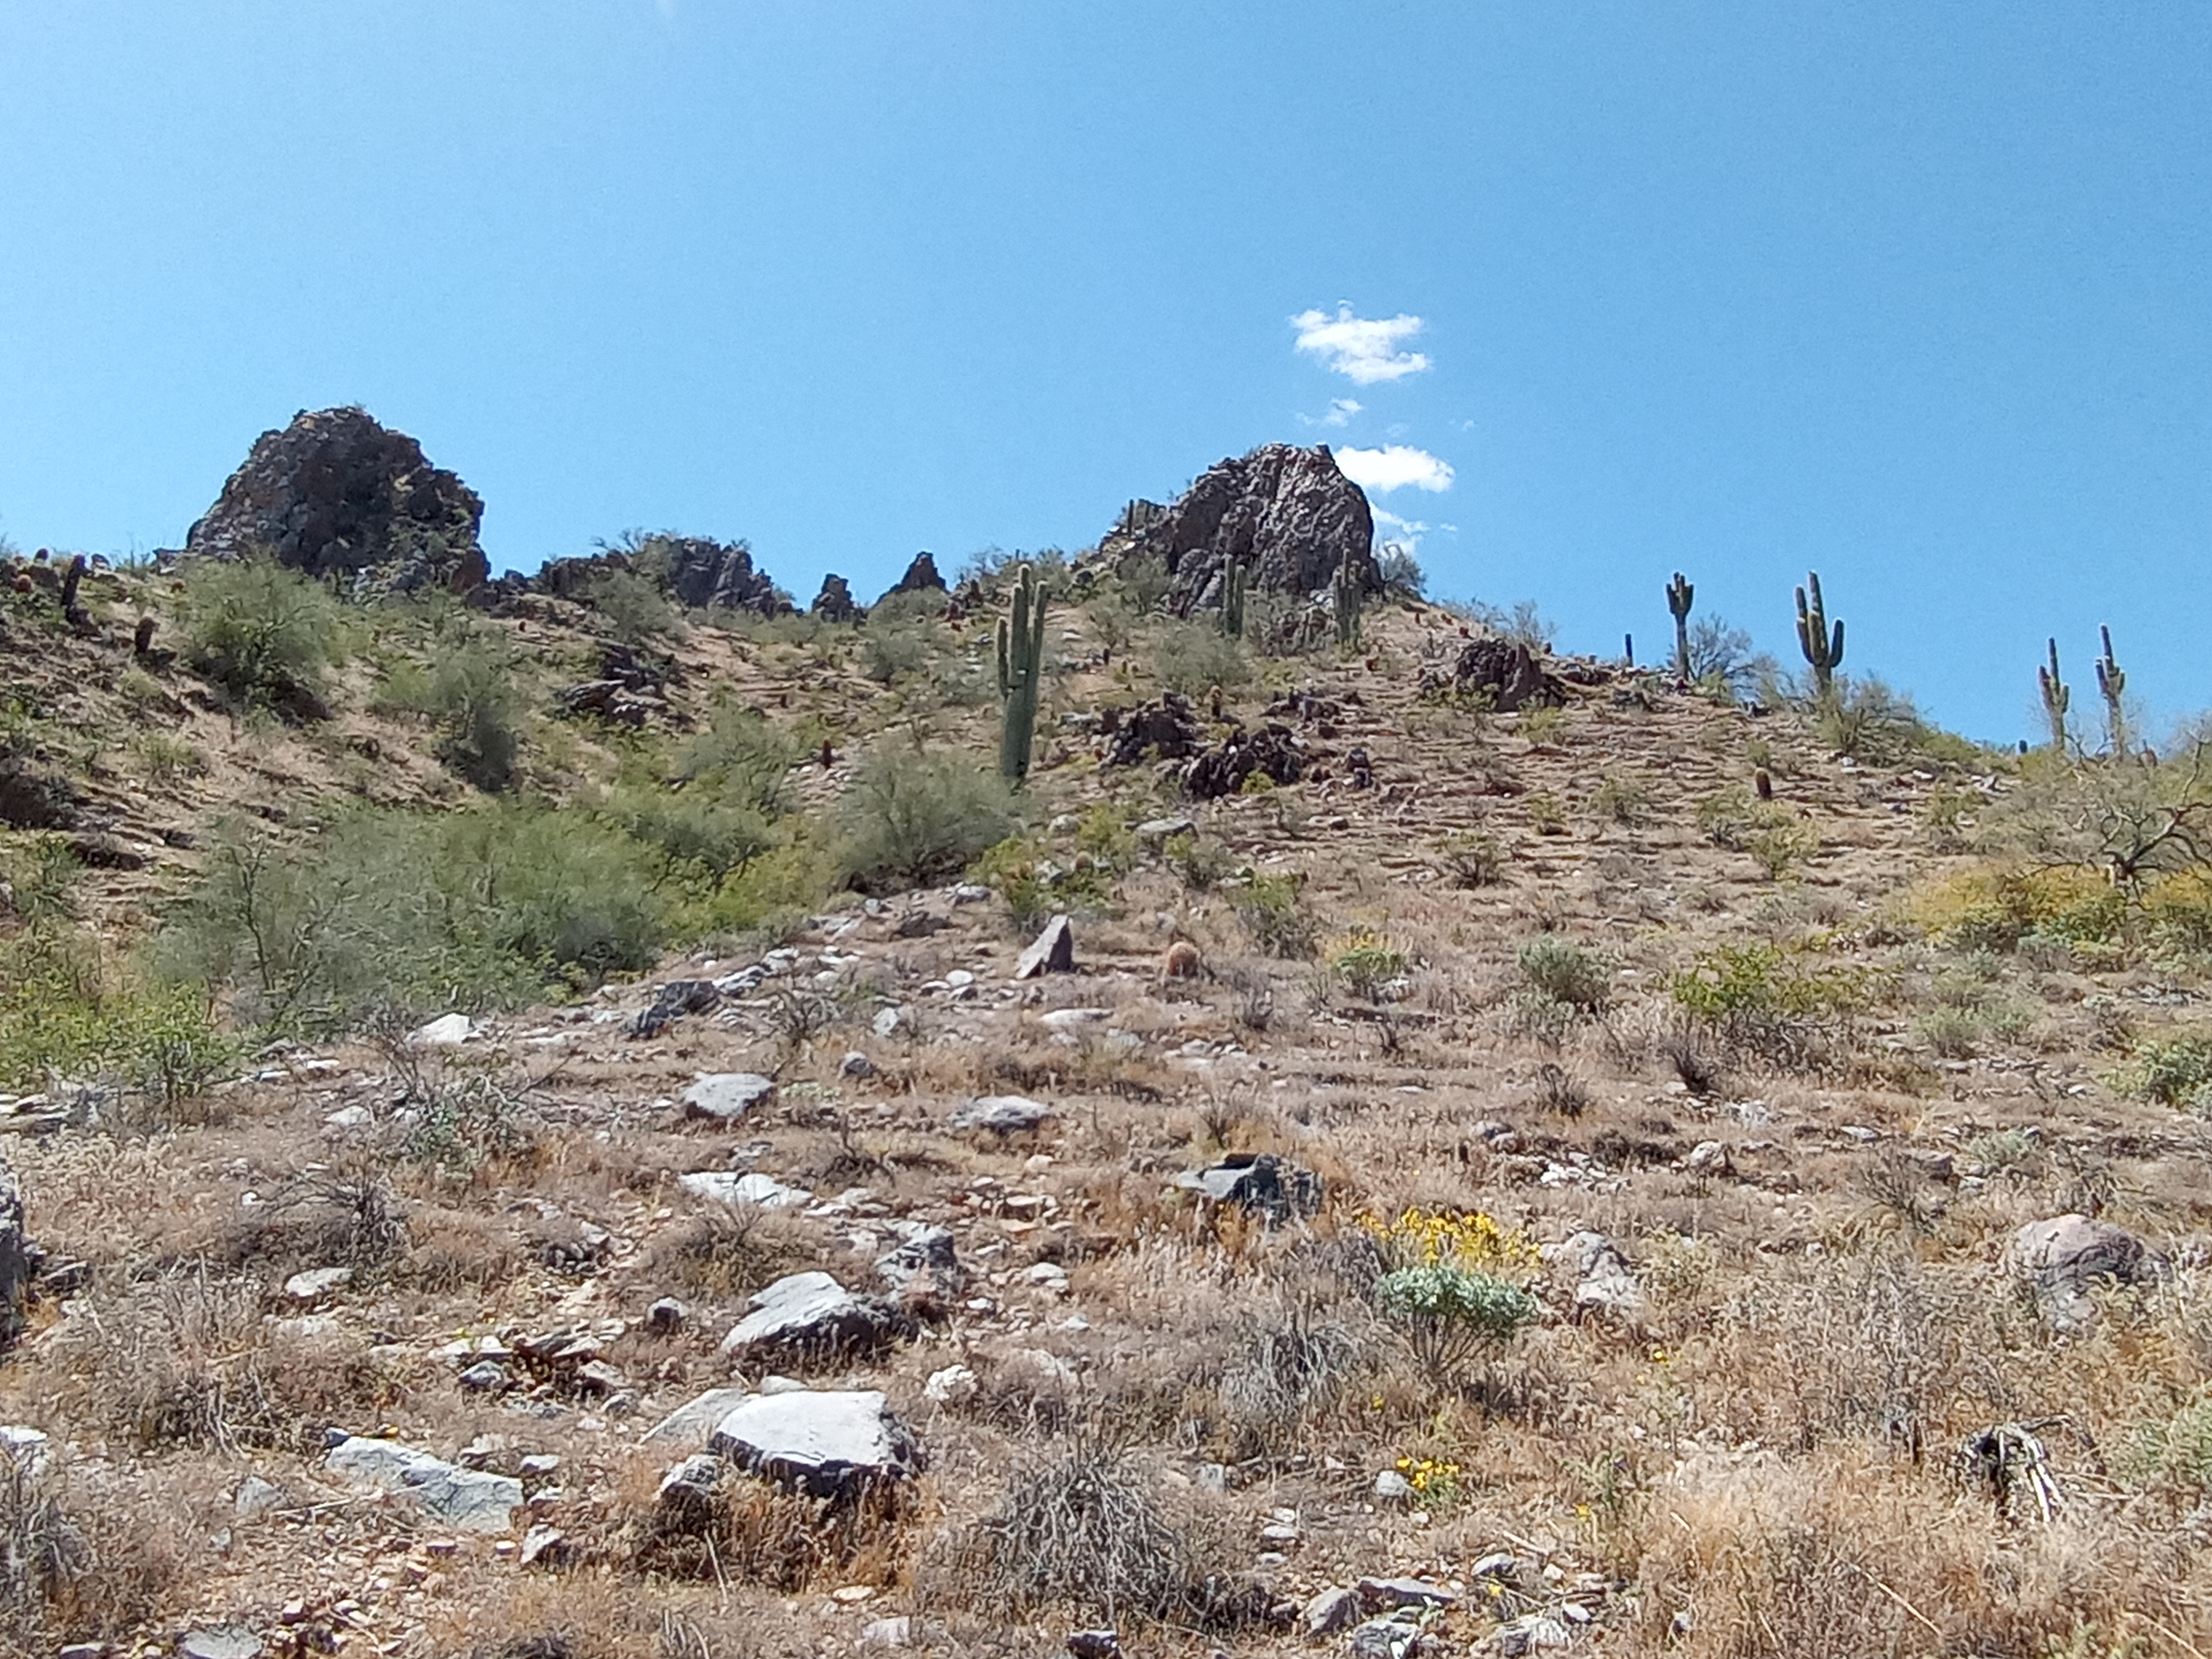
Here are about half of the photos that I took. I will make a second post with the other half.


Making Your Own Crossover Networking Cables...

A couple of days ago, I reached section "1.4 UTP Cabling" in the "Network Address and Basic Troubleshooting" online course over at the Cisco Networking Academy.


As a result, I drove west down Bell Avenue to the Home Depot in Surprise, AZ.

While at Home Depot, I picked up a 100 foot length of Category 5e Ethernet cable by Southwire, a box of RJ-45 CAT 5e connectors and boots, and a Ratcheting Modular Crimper/Stripper/Cutter made by Klein Tools.

Ethernet Cable, RJ-45 Connectors, Crimper

These are items that I have been meaning to purchase for some time. Since I am making my way through the "Network Address and Basic Troubleshooting" online course, I thought that it was time to buy these items. I thought about buying a LAN cable tester, but I changed my mind at the last moment.

As I made my way through section "1.4 UTP Cabling", I eventually came to the section about straight-through and crossover cables.

The straight-through Ethernet network cable is the most commonly used type of networking cable. Straight-through network cables are used to interconnect different devices, such as connecting a host to a switch or a switch to a router.

Meanwhile, a crossover Ethernet cable is used to interconnect similar devices, such as connecting a host to a host, a router to a router, a switch to a switch, etc.

If you need to use a crossover Ethernet cable to connect a router to another router, for example, then you have to make the cable.

Creating a crossover cable entails stripping the Ethernet cable, separating the individual wires, re-ordering the wires, inserting the wires into a plastic RJ-45 connector, and then use the Ratcheting Modular Crimper/Stripper/Cutter to crimp the plastic connector.

When I took the class for the CompTIA A+ IT certification back at UMBC a few years ago, students were given a length of Ethernet cable, a crimping tool, and a RJ-45 connector. Creating my own crossover cable quickly became a mess.

How could something so easy become so difficult?

Well, when you create an Ethernet crossover cable, the wires have to be in a certain order for the cable to work.

That's where the infamous T568A and T568B wiring standards chart comes in.  

T568A and T568B Wiring Standards


To create that Ethernet crossover cable, one end of the cable has to meet the T568A standard and the other end has to meet the T568B standard.

When you buy a length of Ethernet cable, the cable is already at the T568A standard, so half of your work is already completed.

That just means that you have to get the other end of the cable to meet the T568B standard.

While writting this post, I found a short, informative video by Ideal Industries on Home Depot's webpage (just click on my hyperlink) that gives you a step-by-step guide on how to create an Ethernet crossover cable.

All of this information about how to create an Ethernet crossover cable is all well and good. However, there is a catch.

While reading "1.4 UTP Cabling", I read the following section:

Crossover cables are now considered legacy as NICs use medium-dependent interface crossover (auto-MDIX) to automatically detect the cable type and make the internal connection. 


Basically, what that means is that creating Ethernet crossover cables is now considered to be obsolete. However, that doesn't mean that Ethernet crossover cables are going away anytime soon. Given that there are millions and millions computers, printers, switches, and routers that are in use today, you will probably need to know how to make an Ethernet crossover cable for some time to come. New equipment, on the other hand, will have this new technology that allows them to function without an Ethernet crossover cable.

In the meantime, keep making those Ethernet crossover cables.  

They aren't going away any time soon.

Sunday, April 28, 2024

Just Checking In...

Yes, I realize that I haven't posted to my blog for the past couple of days.

I just got busy doing other things.

As a result, I NEED to update all of my social media accounts (Facebook, Twitter/X, Blogger).

  • On Friday, I went to the Home Depot in Surprise, AZ and bought some items to practice making crossover networking cables. Look for an upcoming post on that.
  • On Saturday, I drove back down to the Phoenix Mountain Preserve and did some hiking. I had to try out my new hiking boots and my new hydration system. I also tried using the All Trails app on my phone as I hiked. Look for an upcoming post on that.
  • Lastly, I took some photos while hiking, so I will have to make a post on about that. In fact, I have to get to work on writing these posts about hiking in Maricopa County. I should be able to one post per day. I need to get to work on this or my backlog will get incredibly long.

Now, it looks like I am going on an afternoon trip over to Wickenburg, AZ, so I might not be able to start posting until later tonight.

Things happen...